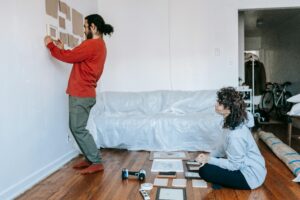
Introduction:
A plywood bookshelf is an easy DIY project that adds charm and utility to any room.
Materials Needed:
- 18mm Plywood board
- Wood screws
- Wood glue
- Sandpaper
- Paint or stain (optional)
- Drill, measuring tape, and saw
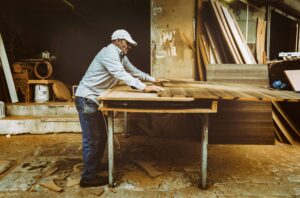
Steps:
- Measure and Cut: Decide your shelf height and width. Cut 2 side panels, multiple shelves, and one top and bottom piece.
- Sand the Surfaces: Smoothen all edges and surfaces with sandpaper.
- Assemble the Frame: Attach top and bottom panels to the side panels using glue and screws.
- Add Shelves: Space the shelves evenly or based on your book sizes.
- Secure and Finish: Reinforce corners with brackets if needed. Paint or varnish for a finished look.
Design Variations:
- Add doors for a closed cabinet
- Use bold colors for a modern look
- Add wheels for portability
Conclusion:
DIY plywood furniture is cost-effective and satisfying. With basic tools and planning, you can build functional pieces for your home.